Welcome to the ultimate guide on transforming your space into a masterpiece with the expertise of 216 Pintura, Cleveland’s Premier Painting Service. Painting a room like a professional painter demands more than just a brush and paint; it requires a strategic blend of precision, preparation, and the exclusive techniques employed by our seasoned team.
At 216 Pintura, we take pride in being the go-to choice for those who seek a flawless and professional paint job. Whether you’re a novice or have some painting experience, this comprehensive guide, crafted by our painting experts, will equip you with the skills and insights needed to elevate your space to new heights.

Discover the secrets that set us apart as Cleveland’s Premier Painting Service – from choosing high-quality tools to meticulous preparation and mastering the art of paint application. Join us on this journey as we unveil the step-by-step process that ensures each stroke of paint transforms your room into a work of art.
Get ready how to paint in room like a pro with 216 Pintura – where expertise meets excellence, and every room becomes a canvas for perfection.
How to Paint a Room Key Takeaways:
- Invest in high-quality painting tools and have everything ready at each job
- Move furniture, cover surfaces, remove switch plates, remove outlet covers, and patch walls
- To estimate how much paint you’ll need – one gallon per 400 square feet is a general guideline.
- Use cutting-in techniques with your paint brush for edges
- Using the “W” shape method with a roller for larger wall areas.
- Take your time, follow the proper steps, and enjoy the transformation of your space.
Essential Interior Painting Tools
Time is money, and achieving cost-effective wall painting becomes even more crucial when considering interior house painting rates. Efficiently completing the project with the right supplies not only enhances your living space but also maximizes savings. Ensuring a professional finish, here is a list of essential tools for interior painting:
| Tool | Description |
|---|---|
| Roller Trays and Frame | The tray and handle for attaching the roller cover. |
| Paint Rollers | Different nap lengths for various surfaces (smooth, semi-smooth, or textured). |
| Painter’s Tape | Masking Tape is used for protecting edges, trim, and surfaces. |
| Plastic Drop Cloths or Plastic Sheeting | To protect floors and furniture from excess paint. |
| Paint Tray | For holding and distributing paint. |
| Liners | Plastic inserts for easy cleanup and color changes. |
| Stir Stick or Paint Mixer | To ensure the paint is thoroughly mixed. |
| Paint Trimmer or Edging Tool | Helps create clean lines along edges and corners. |
| Telescoping Pole | Attaches to rollers or brushes to reach high or hard-to-reach areas. |
| Caulk | For filling gaps and cracks in walls or trim. |
| Caulk Gun | Dispenses caulk evenly. |
| Sandpaper | For smoothing surfaces before painting or between coats. |
| Paint Bucket | For holding larger quantities of paint. |
| Grid | Inserted into the bucket to remove excess paint from rollers. |
| Lint-free Cloths | For wiping away drips, spills, or cleaning tools. |
| Putty Knife | Used for scraping old paint, spreading putty, or patching holes. |
| Paint brush | Essential for precision work and detailing. |
| Respirator Mask | Provides protection against paint fumes and particles. |
| Safety Glasses | Protects eyes from splatters and drips. |
| Gloves | Keeps hands clean and protects against chemicals in paint. |
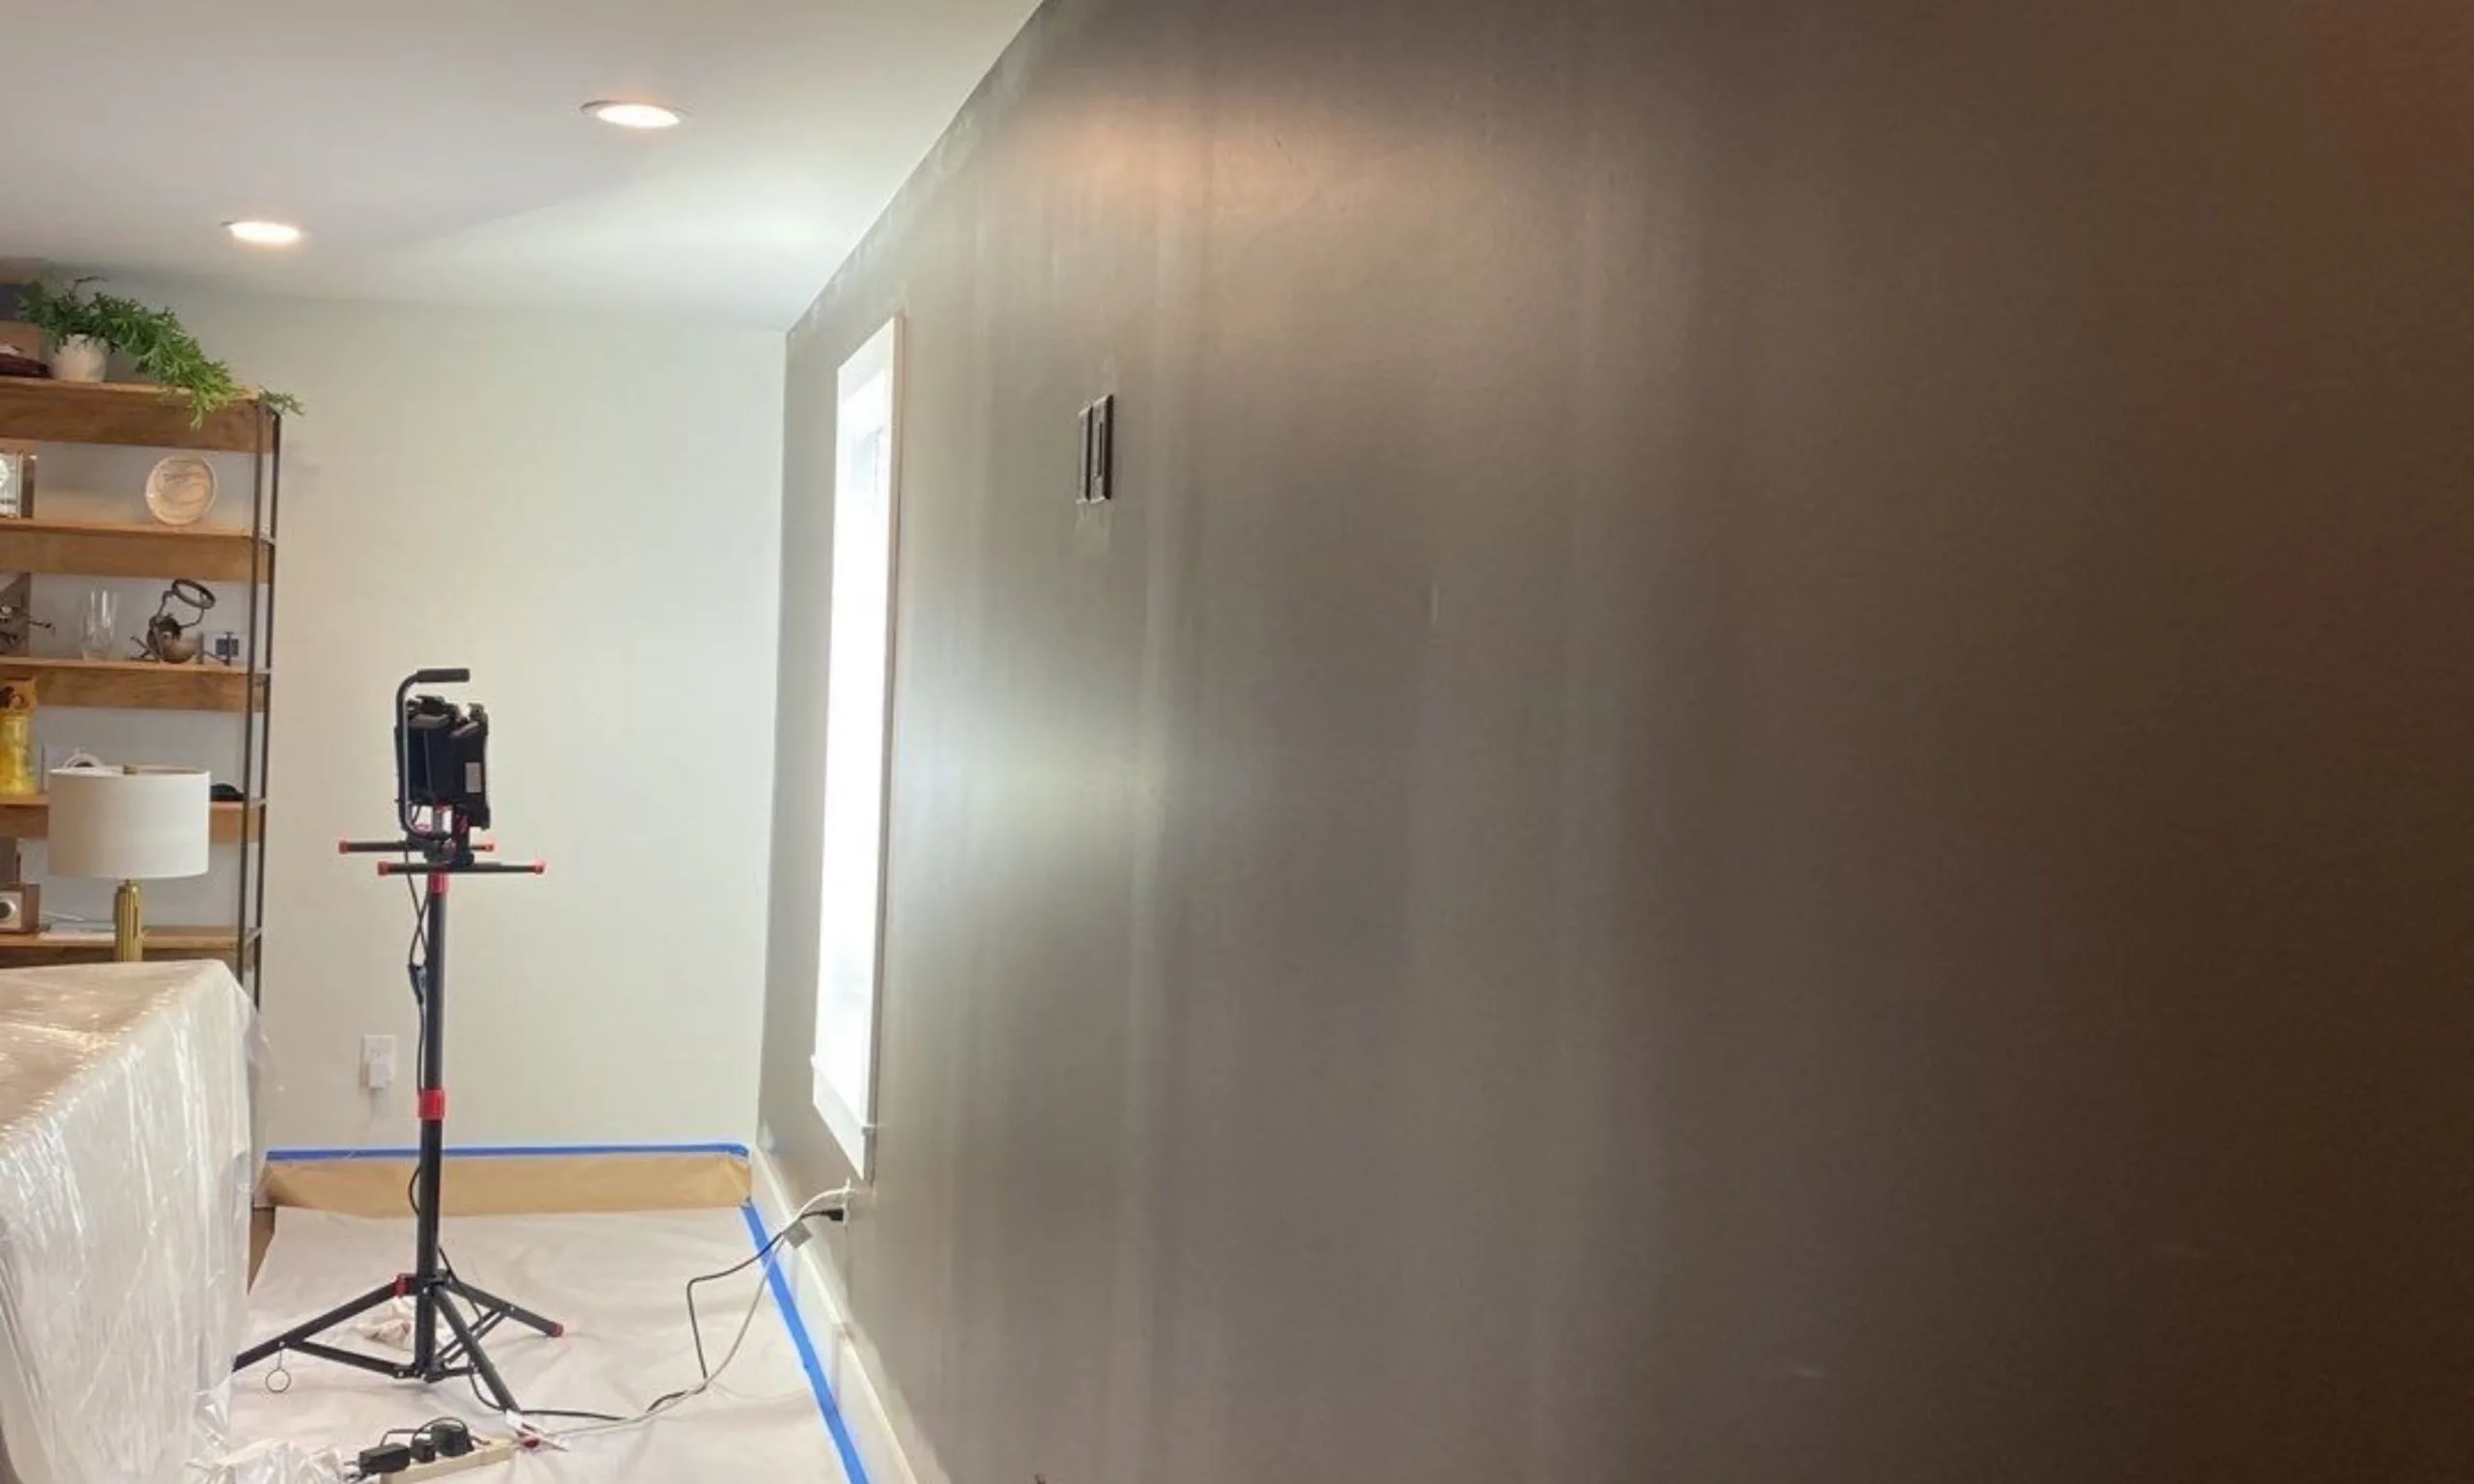
Prepping the Room for Painting
Prepping the entire room before painting the whole wall is a crucial step that sets the foundation for a successful paint job. By taking the time to properly prepare the space, you’ll ensure a clean and professional-looking finish. Here are some key tasks to consider:
Covering with Plastic Sheeting
Start by protecting your furniture and floors from accidental paint splatters or spills. Use plastic sheeting or plastic drop cloths to cover large pieces of furniture and lay them on the floor to catch any paint drips. This will help you keep your belongings clean and free from unwanted paint marks.

Applying Painter’s Tape
To achieve clean and crisp paint lines, apply painter’s tape along the edges of trim, windows, and any other areas you want to protect from paint. This will create a barrier that prevents paint from seeping onto surfaces where it doesn’t belong.

Prepare Paint Brushes and Paint Rollers
Using clean brushes is essential for achieving a smooth and even paint application. Before starting your paint job, thoroughly clean your paint brushes to remove any residual paint or debris. This will ensure that you have full control over the paint application and prevent unwanted streaks or clumps.

Inspecting the Walls
Take a close look at the walls and inspect them for any dirt, dust, or imperfections. Clean the walls with a sponge or damp cloth to remove any dirt or grime. Additionally, patch any holes or cracks with spackle or putty, and sand the surfaces to create a smooth canvas for your paint. Lastly, remove light switch plates and cover any non removable light fixtures.

Choosing a Finish
Consider the type of finish you want for your walls. Satin finishes are popular choices as they offer a smooth and durable result. They are also easier to clean, making them suitable for high-traffic areas like living rooms and hallways. However, keep in mind that the level of sheen may affect the way light reflects on the walls, so choose accordingly.
By following these prepping steps, you’ll ensure that your new paint adheres properly to the walls, creating a flawlessly finished room. Taking the time to prepare the space will contribute to a stunning end result that you’ll be proud of.
Priming Interior Walls
Before painting the walls, priming is a crucial step that ensures a smooth and long-lasting paint job. Priming provides a base for the paint to adhere to and helps cover tough stains. It also creates a uniform surface, allowing the paint color to appear more vibrant.
When applying your first coat of primer, it is important to work on one wall at a time and spot prime areas that have been patched or repaired. Spot priming involves applying primer only to the patched areas, ensuring they are properly sealed and ready for paint.

For smaller areas and touch-ups, a brush is recommended for priming to ensure precision and control. The brush allows you to reach corners, edges, and other detailed areas more paint that a roller may not cover adequately.
When priming the interior walls first, pay special attention to any patched areas. Apply primer evenly, covering the patched spots thoroughly. This helps create an even surface and ensures proper adhesion of the topcoat.
Benefits of Priming Interior Walls
Priming the walls has several benefits:
- Improves paint adhesion: Priming ensures better adhesion, preventing the paint from peeling or cracking.
- Seals stains: Priming helps seal tough stains such as watermarks, smoke residue, and grease, preventing them from bleeding through the paint.
- Enhances paint color: Using a primer can enhance the true color of the paint, especially when transitioning from dark to light shades or vice versa.
- Smoothes out imperfections: Priming helps fill in minor imperfections on the wall’s surface, resulting in a smoother finish.
By taking the time to properly prime the walls, you’ll set the foundation for a professional-looking paint job, with improved durability, color vibrancy, and a flawless finish.
Interior Painting Tips for a Professional Finish
To achieve a professional finish when painting a room, there are a few key techniques to keep in mind. These techniques will help ensure that your paint job looks smooth, flawless, and of high quality.

- Remove Excess Paint: Before applying paint to the walls, it’s important to remove any excess paint from the roller. Too much paint can lead to drips and streaks, ruining the overall finish of your paint job. To remove excess paint, roll the roller back and forth on the roller tray, applying gentle pressure to remove any excess paint.
- Allow Paint to Dry: Allowing each coat of paint to dry fully before applying the next is crucial for achieving a professional finish. Rushing the drying process can lead to smudges, smears, or uneven color. Follow the paint manufacturer’s instructions for drying time, and be patient to ensure the best results.
- Apply up to Three Coats: Applying two coats of paint is recommended for optimal coverage and a professional-looking finish. A single coat latex paint may leave streaks or uneven color, while the second coat ensure a smooth and consistent appearance. Applying a third coat to walls in bad shape might be needed. Allow each coat to dry completely before applying the next.
- Take Your Time and Work Carefully: To avoid drips or roller marks, it’s important to take your time and work carefully when painting. Use smooth and even strokes with the paint roller, overlapping each stroke for consistent coverage. Pay attention to details and corners, using a smaller brush for precision work. Take breaks if needed to maintain focus and precision throughout the painting process.
By following these techniques, you can achieve a professional finish when painting a room. Remember to remove excess paint from the roller, allow the paint to dry between coats, apply two coats for optimal coverage, and take your time to work carefully. To learn more, check out our full guide on interior painting tips and tricks.
Conclusion
Are you ready to give your living spaces a vibrant makeover? At 216 Pintura, we specialize in turning your interior design dreams into reality through our expert painting services. Painting a room is not just a task – it’s an art form, and we bring a level of professionalism and finesse that ensures your space is transformed into a masterpiece.
Why Choose 216 Pintura for Your Interior Painting Needs?
- Expertise: Our team comprises skilled professional painters who understand the nuances of interior painting.
- Quality Materials: We use high-quality paints and materials to guarantee a lasting and impeccable finish.
- Professional Approach: Avoid the hassles and potential pitfalls of DIY projects. With 216 Pintura, you can trust in our professional approach, saving you time, effort, and ensuring a flawless outcome.
Why Wait? Visit Our Interior Painting Service Page Now!
Ready to give your home a fresh layer of new paint? Visit our dedicated Interior Painting Service page to explore the range of options and expertise we bring to the table. Let us guide you through the process of transforming your space into a haven of beauty and style.