Welcome to 216 Pintura’s comprehensive guide on mastering the art of interior painting! Whether embarking on a DIY project or hiring a painting professional, this guide will equip you with the knowledge and techniques needed to transform your space. However, if you prefer a hands-off approach, 216 Pintura offers free quotes – simply visit our Cleveland Interior Painting Service Page.
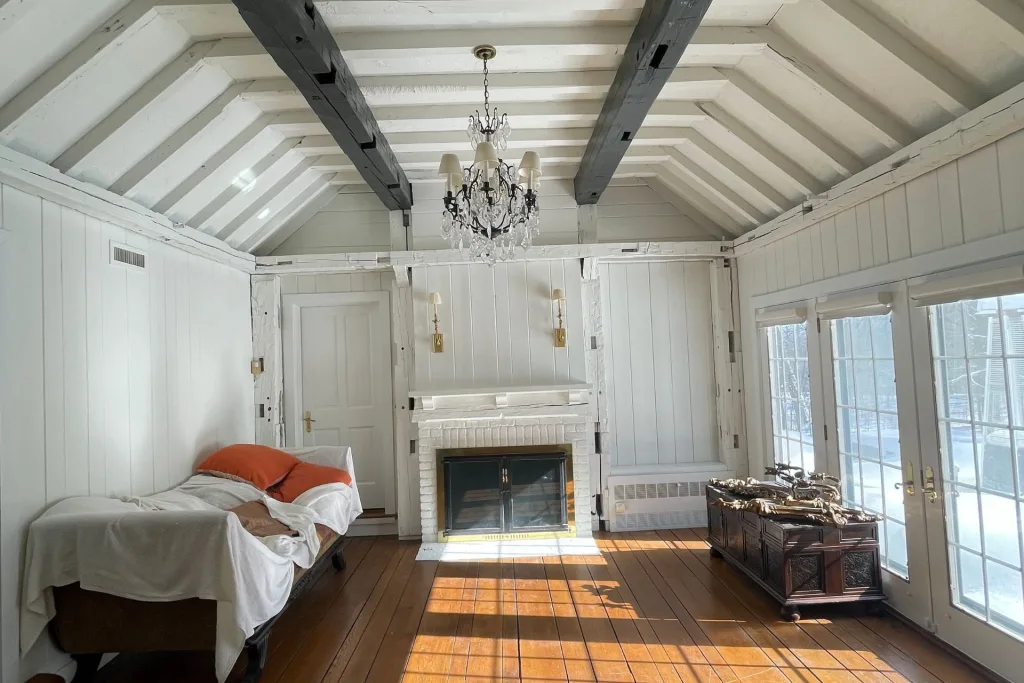
Interior painting transcends the simple task of applying paint to walls; it’s a nuanced process demanding careful consideration and skill to achieve desired results. With years of dedicated practice, 216 Pintura has garnered the expertise to tackle any project. This guide covers everything from proper surface preparation to troubleshooting common painting issues. So, if you’re ready to give your home a fresh look, let’s dive into interior painting!
Table of Contents
Choosing the Right Paint Colors for Your Space
Choosing the perfect paint colors for your interior space can be daunting, but it doesn’t have to be. To simplify the process, start by considering the following factors:
- The room’s natural light and overall ambiance
- Your personal style and color preferences
- The purpose and function of the room
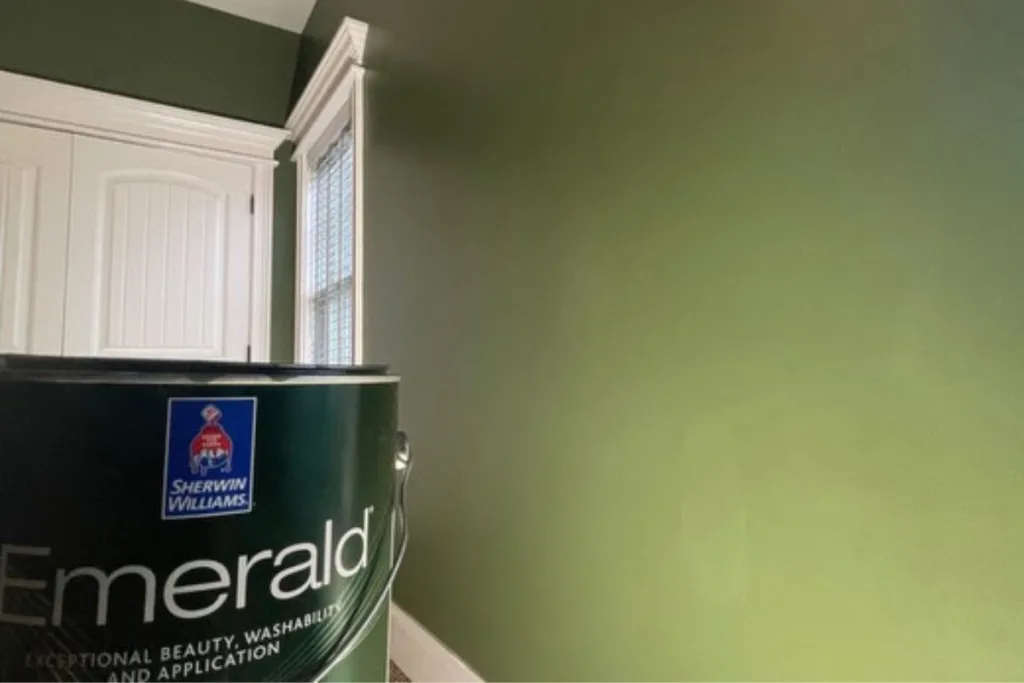
Once you have a good idea of the direction you want to go in, it’s time to explore popular color schemes. One trendy option is the modern farmhouse look, which typically features neutral hues like beige and gray with pops of rustic colors like blue or green. Try a jewel-toned color palette with rich colors like emerald and sapphire for a bold statement.
When creating the desired ambiance, there are a few tips to remember. Opt for lighter colors like white or pastels to make a small room feel larger. Warm colors like red and orange can create a cozy and intimate atmosphere.

Keep in mind that selecting paint colors is a deeply personal choice. Trust your instincts and opt for what feels suitable for you and your space. If you require additional assistance determining the ideal color palette for your home, turn to Sherwin Williams, our trusted partner. Their complimentary virtual color consultation service connects you with professionals who can expertly guide you in choosing colors that seamlessly complement your home, guaranteeing a harmonious and personalized transformation.
Preparing Your Walls for Painting

Before you start painting your walls, preparing them correctly is essential. Follow these steps to ensure a smooth and durable paint finish.
- Clear the area: Remove any furniture, decorations, and hardware from the walls. Use drop cloths to cover the floors and protect them from paint splatters.
- Clean the walls: Use warm water, a mild detergent, and a sponge or cloth to clean the walls thoroughly. Rinse the walls with clean water and let them dry completely before painting.
- Inspect for damage: Check for cracks, holes, or other wall damage. Use a spackling compound and a putty knife to patch imperfections, and sand the repaired areas until smooth. Wipe the wall with a damp cloth to remove any dust or debris.
- Prime the walls: Apply a coat of primer to ensure better paint adhesion and cover any repaired areas. Allow the primer to dry completely for the recommended time before painting.
By following these steps, you can be sure that your walls are properly prepared for painting, ensuring a professional-looking finish that will last for years.
Essential Tools and Materials for Interior Painting
Achieving success in your interior painting project involves more than simply selecting the perfect color. Employing the right tools and materials is crucial to guarantee a seamless process. Below is a comprehensive list of painting tools and materials that 216 Pintura consistently brings to every job:
| Tools | Materials |
|---|---|
| Paint brushes in various sizes | Paint |
| Roller frames and covers | Primer |
| Drop cloths or plastic sheeting | Sandpaper or Sanding Sponges |
| Painter’s tape or masking tape | Caulk and caulk gun |
| Paint tray and liners | Paint thinner |
| Extension pole for the roller | Paint additives such as texture granules (if desired) |
Note: Investing in quality tools and materials can make a significant difference in the overall outcome of your project. Also, having all the materials you need on hand allows you to save time and money.
Techniques for Painting Interior Walls
Painting walls can seem daunting, but it can be easy and rewarding with the proper techniques. Here, we detail the various methods used by the painters at 216 Pintura. These tips will help you while painting interior walls, ensuring a smooth and professional finish to your project.
Brush and Roller Application

Brushes and rollers are the most popular tools for painting interior walls. Use a brush to cut around edges, apply paint to smaller areas, and a roller for larger surfaces. When using a roller, start at the top of the wall and work in sections, applying even pressure to ensure a uniform finish. Roll over each section with a dry roller in one direction to avoid roller marks.
Cutting In Edges
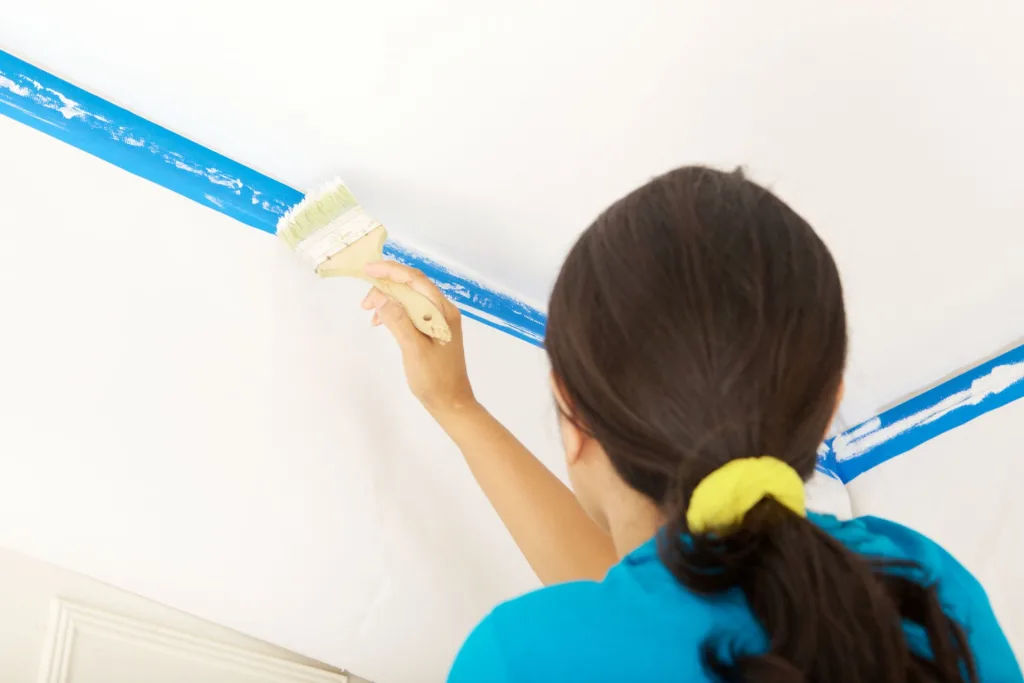
To achieve seamless edges where different surfaces meet, like walls and ceilings or walls and trim, use a technique called “cutting in.” Start with a brush and paint the edges, applying only minimal paint. Follow up with a roller to finish the rest of the surface, blending in the cut-in areas with the rest of the wall.
Painting Tips for Specific Surfaces and Features
Regarding interior painting, other surfaces, and features require specific techniques to achieve a professional finish. Here are some helpful tips for painting transparent surfaces and features:
- Ceilings: Start by painting the edges of the ceiling with a brush before using a roller to apply the paint in small sections. Be sure to use a flat paint finish to avoid glare or shine.
- Trim: Before painting, sand it down to create a smooth surface. Use painter’s tape to protect areas you do not want to paint. Use a small brush to avoid drips and smudging for narrow trim, and use a roller for broader trim.
- Doors: Gently sand any rough spots or imperfections on the door before painting. Remove any hardware to make for a more straightforward painting process. Paint the flat areas before applying the paint to the grooves and edges.
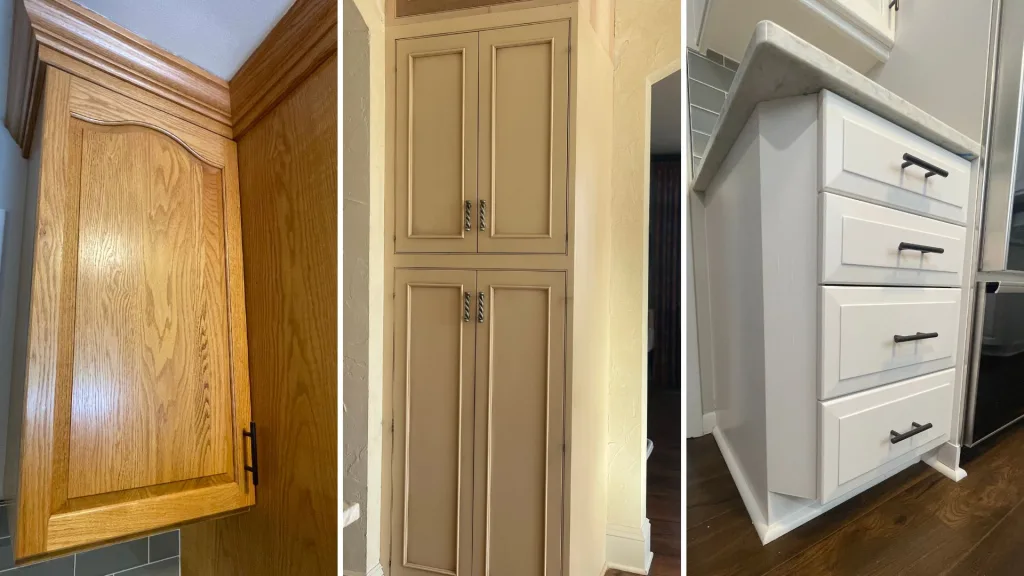
- Cabinets: Remove the doors and hardware for easier access before painting cabinets. Proper sanding and degreasing are crucial for ensuring good adhesion. Apply a primer before painting to ensure a smooth finish and prevent the paint from chipping or peeling.
Remember to use high-quality brushes and rollers to achieve a professional finish, and always allow each coat of paint to dry thoroughly before applying the next. Following these tips will ensure a flawless finish on each surface and feature.
Troubleshooting Common Interior Painting Issues
Interior painting can be tricky, and sometimes, issues arise, such as drips, streaks, and color inconsistencies. These problems can be frustrating, but don’t worry; we’ve covered you with helpful troubleshooting tips!
- Drips and Runs: If you notice drips and runs in your paint, it could be due to overloading the brush or roller or not properly smoothing the paint. To fix this, wait for the paint to dry completely, sand the affected area lightly, and then repaint the spot.
- Streaks and Lines: This can occur if you don’t use enough paint, resulting in uneven coverage. To avoid this, ensure you correctly load the brush or roller, use long and even strokes, and repaint the area if necessary.
- Color Inconsistencies: If you notice color inconsistencies, it could be due to how the paint has dried or the lighting in your space. To fix this, allow the paint to dry completely, assess the color in different lighting, and consider repainting the wall if necessary.
Following these troubleshooting tips, you can overcome common interior painting issues and achieve a flawless finish!
Proper Cleanup and Maintenance after Interior Painting

After you’ve finished painting your interior space, taking care of the newly painted surfaces is essential to maintain their appearance. Proper cleanup techniques can help you avoid damage to your painted walls and ensure the project succeeds.
- Removing Paint Splatters: During the painting process, it’s common for paint to splatter onto surfaces that aren’t intended to be painted. To remove these splatters, allow the paint to dry completely. Then, use a scraper or putty knife to scrape away the paint gently. Avoid using harsh chemicals, as they can damage the painted surface.
- Maintaining Painted Walls: To keep your painted walls fresh, regularly dust them and clean them with a soft cloth or sponge. Avoid using abrasive cleaners or scrubbers, as they can damage the paint. If you notice scuff marks or stains, use a mild detergent and warm water to clean the affected area. For tough stains or marks, try using a melamine foam eraser.
- Touch-Up Techniques: Over time, it’s common for painted surfaces to show signs of wear and tear, such as chips, cracks, or fading. First, clean the surface using a mild detergent and warm water to touch up these areas. Allow the area to dry completely. Then, use a small paintbrush to apply touch-up paint to the affected area carefully. Allow the paint to dry completely before adding additional coats, if necessary.
By following these tips for proper cleanup and maintenance, you can enjoy the newly painted surfaces in your home for years to come.
Conclusion
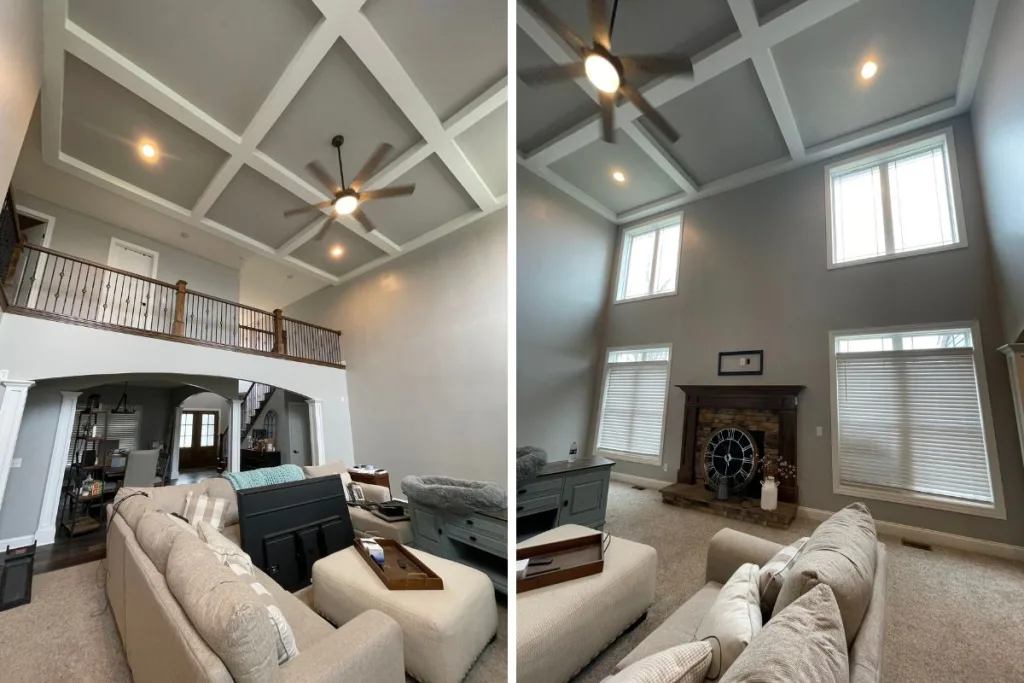
We hope this comprehensive guide has provided valuable insights into mastering the art of interior painting. From choosing the right paint colors to troubleshooting common issues, we’ve covered all the essential aspects of interior painting. Remember to take your time and properly prepare your walls before painting. Use high-quality tools and materials for optimal results. And don’t be afraid to unleash your creativity with faux finishes and color combinations that reflect your style.

Following the tips and techniques outlined in this guide, you can achieve a professional-quality paint finish and transform your interior space into a personalized oasis. When it comes to interior painting projects in Cleveland, Ohio, there’s no better choice than 216 Pintura. Trust us to exceed your expectations and deliver exceptional results. Give us a try, and thank you for considering us.